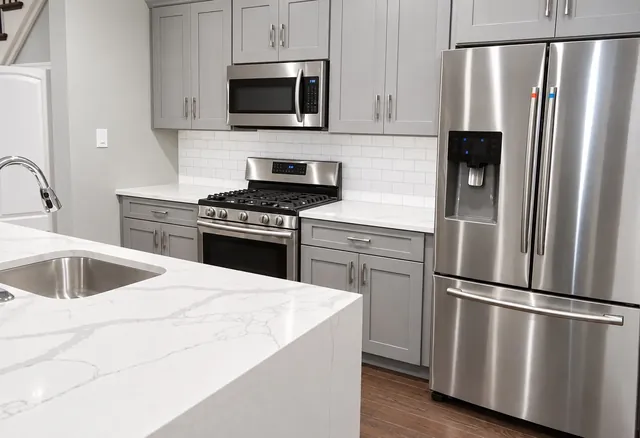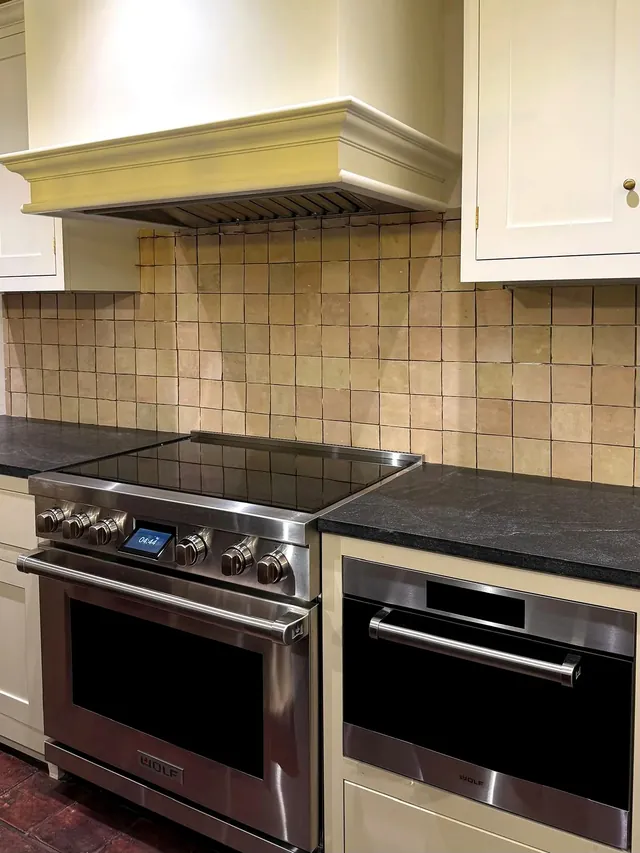
What a backsplash installation includes
- Checking the wall for flatness and preparing it, including removal of an old backsplash when needed.
- Layout planning centered on the range, hood, sink, or window.
- Cutting around outlets, switches, cabinets, and the window.
- Setting tile, including any hood wall that runs to the ceiling.
- Finishing exposed edges with trim, bullnose, a factory finished edge, or a metal profile.
- Grouting the field and placing sealant at the countertop and inside corners.
Centering the layout
The first decision is what the backsplash is centered on. In many kitchens the range and hood are the focal point, so the tile pattern is centered on the hood and the cuts are pushed to the corners. In others the sink window is the strongest line. When the range and window are not on the same wall, each wall can be centered on its own feature, but the courses still have to line up where the walls meet.
Vertical layout matters as much. The bottom course sits on the countertop, so we check whether the counter is level along its length; a counter that drops leaves a tapered gap at the bottom that becomes visible. We also look at where the top course meets the underside of the upper cabinets, to avoid a thin strip of tile under the cabinets. Laying a dry run of tile on the counter shows those cuts before anything is committed.
Outlets, switches, and under-cabinet lighting
Outlet and switch boxes are usually installed for a painted wall. Once tile adds thickness, the device can end up recessed behind the tile surface. Moving a box, adding a box extender, or relocating an outlet is electrical work, so an electrician handles it and the quote shows that as a separate trade. We cut the tile to fit neatly around the box and plan the layout so outlets fall in the field of a tile where possible, not on a grout line.
Under-cabinet lighting and plug strips can also change the backsplash plan. If you are adding them, the electrician should do the rough work before tile. Our guide on backsplash stops and openings lists the openings to settle first.
Edges and terminations
Where a backsplash ends without meeting a wall or cabinet, the tile edge is exposed. Some tile lines include bullnose or finished edge pieces; others need a metal or stone profile. The end point itself is a design choice: at the end of the countertop, at the edge of the upper cabinets, at the window casing, or carried to the ceiling.
Where tile meets the countertop, the plane changes, so it is filled with a color-matched flexible sealant rather than grout. The same applies to inside corners. Our guide on grout and sealant joints explains where each goes.
Cutting around cabinets and the window
Cabinets are rarely perfectly plumb, and window returns are rarely square. We scribe tile to the cabinet sides and the window so the joint stays even. Where the backsplash wraps a window sill or meets the window frame, we decide whether tile returns into the window opening or stops at the casing. Tall panels and open shelving are checked for where they meet the tile.
Choosing grout for a backsplash
A narrow grout joint suits most wall tile, but the right width depends on the tile's edges and size variation, as our guide on grout joint width explains. Grout color sets the mood: matching grout makes the tile read as one surface, while contrasting grout shows the pattern. Near the range, grout sees grease and splashes, so a stain-resistant grout is often worth considering.
Material-specific notes
Subway tile
Subway tile shows every inconsistency because the pattern is so regular. Courses must stay level across the whole run, and the offset has to stay consistent at corners and around outlets. Some glazed subway tiles have a slight bow, which can make the edges catch light; a smaller offset or a stacked layout reduces that.
Mosaic tile
Mosaics come on mesh sheets, and the seams between sheets can show if they are not blended carefully. Cutting sheets around outlets often means setting individual pieces. Our mosaic tile installation page covers mosaics in more depth.
Zellige and handmade tile
Handmade tile varies in size, thickness, and color by design. It is set with a planned joint that absorbs that variation, and pieces are mixed from several boxes. Some handmade surfaces need sealing per the maker's instructions. See our Zellige tile installation and Moroccan tile installation pages.
Natural stone
Marble and other stone backsplashes can stain from grease and acidic foods. Light-colored stone may need a white setting material to avoid shadowing, and many stones are sealed before grouting per the maker's instructions. Stone sealing is quoted as its own line under our sealing service.
What affects a backsplash quote
- Linear length and height, and whether the hood wall runs to the ceiling.
- Removal of an existing backsplash and wall repair afterward.
- Tile size and type: mosaic sheets and handmade tile take more setting and cutting.
- Number of outlets, switches, and window returns.
- Edge trim or profiles at every exposed end.