Hiding sheet lines
Most mosaics come mounted on mesh, dots, or face paper, in sheets roughly a foot square. The gap between sheets has to match the joints inside each sheet, or the grid shows as a pattern of squares. We set sheets so the spacing between them equals the spacing within them, check alignment with straightedges as we go, and shift individual pieces while the mortar is still workable.
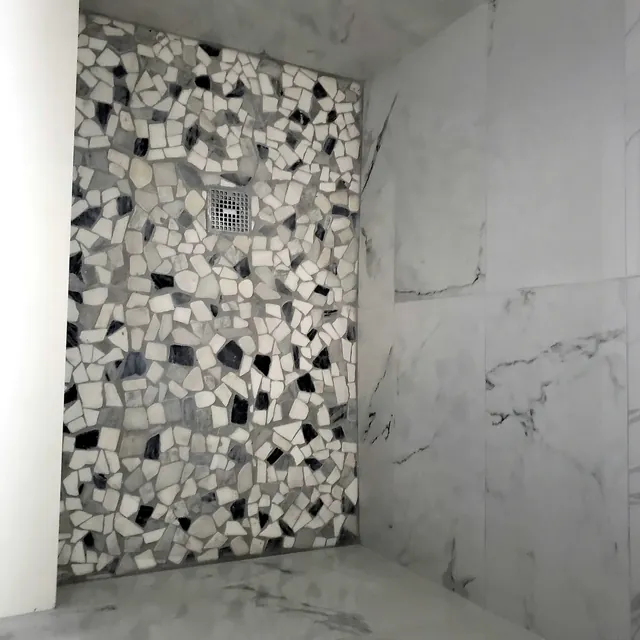
Random designs such as pebble or broken stone need sheets interlocked rather than butted, so the edges disappear. Face-mounted paper sheets go on paper side out, and the paper is soaked off while the mortar is still soft enough to adjust pieces.
Substrate flatness and layout
Small tiles follow the surface under them. A wall that is out of plane shows up as waves in the grout lines, and a hump in a floor shows as a ridge of catching light. We check the substrate with a straightedge and correct it before tiling, then plan a dry layout so cut pieces land where they are least visible: in inside corners, under trim, or along the base of a wall.
Thinset choice for glass mosaics
Glass mosaics are translucent or reflective, so the setting material shows through. Glass makers usually call for a white mortar from their approved list, applied with the trowel they specify and flattened so ridges do not show through the glass. Gray mortar or visible trowel lines can make clear glass look cloudy or striped. Some glass also needs a mortar suited to tile that absorbs almost no water. Our thinset mortar guide explains what thinset does and does not do.
Glass is cut with a blade or nipper made for glass, and cut edges are placed away from where hands slide when possible.
Grout selection
Grout covers a larger share of a mosaic surface than of large-format tile, so its color and type change the whole look. Glass and polished marble scratch easily, so the grout must be one their maker approves; a fine, unsanded grout is common in narrow mosaic joints. Epoxy and other stain-resistant grouts work well in showers but need careful, timely cleanup. See epoxy and cement grout for the differences.
Mosaic shower floor
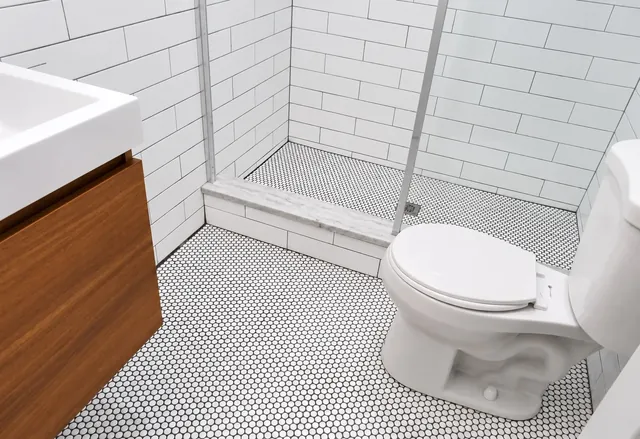
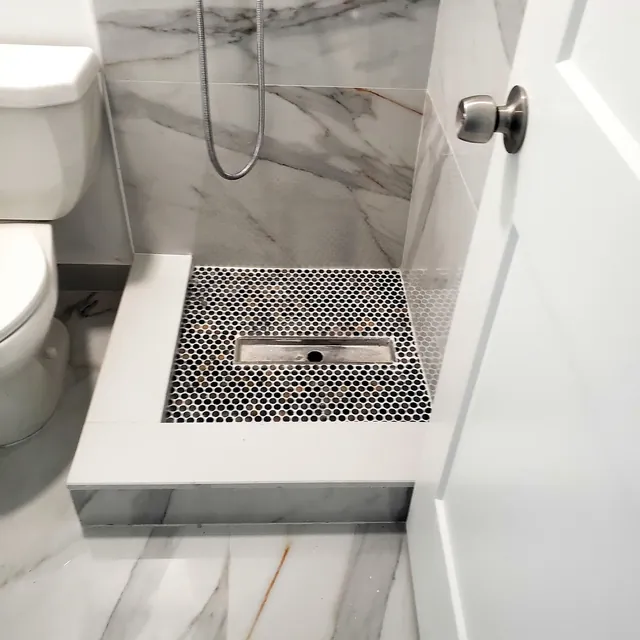
Mosaics are a common shower floor for practical reasons. Small pieces follow the slope to the drain without the large wedge cuts that big tiles need, and the many grout joints add texture underfoot. Slip resistance still depends on the specific product; our guide explains why a DCOF number is not the same as slip resistance.
- More joints mean more grout to keep clean, so a stain-resistant grout or a sealed cement grout helps
- A center drain works naturally with small mosaics; a linear drain lets the floor slope one way
- The tile sits on a continuous waterproofing assembly built to the membrane maker's method, and the quote states which trade provides each layer
The full shower process
See shower tile installation for walls, niches, curbs, and how the shower scope is written.
Mosaic backsplash and accent walls
A mosaic backsplash or mosaic accent wall puts the sheet grid at eye level, where alignment errors show most. We pay close attention to where the field stops: at cabinets, under windows, around outlets, and at the end of the counter. Edges can finish with matching trim, a metal profile, or a clean stop against a wall. See kitchen backsplash installation and bathroom tile installation for the related scope.
Marble and stone mosaics
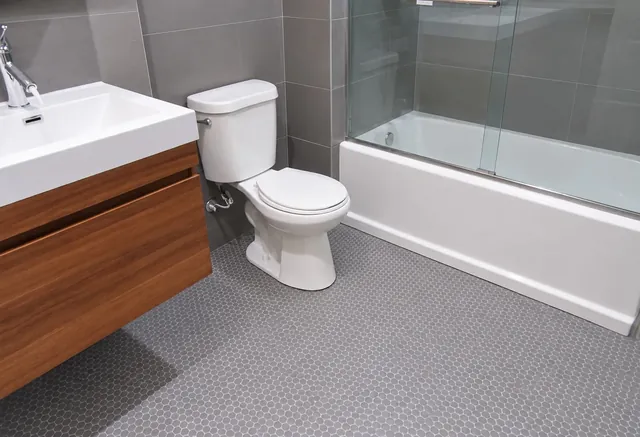
Marble mosaic brings stone veining into small pieces, often in hexagon, herringbone, basketweave, or penny layouts on bathroom floors. It carries the same care needs as larger stone: it can etch under acidic cleaners, it may need sealing per the stone or sealer maker before a contrasting grout goes on, and polished faces scratch. Our marble and natural stone installation page covers stone handling, and floor tile installation covers floor preparation.